
|
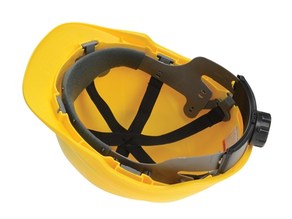
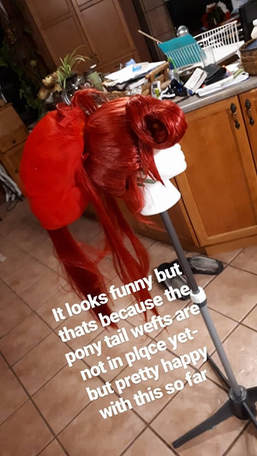
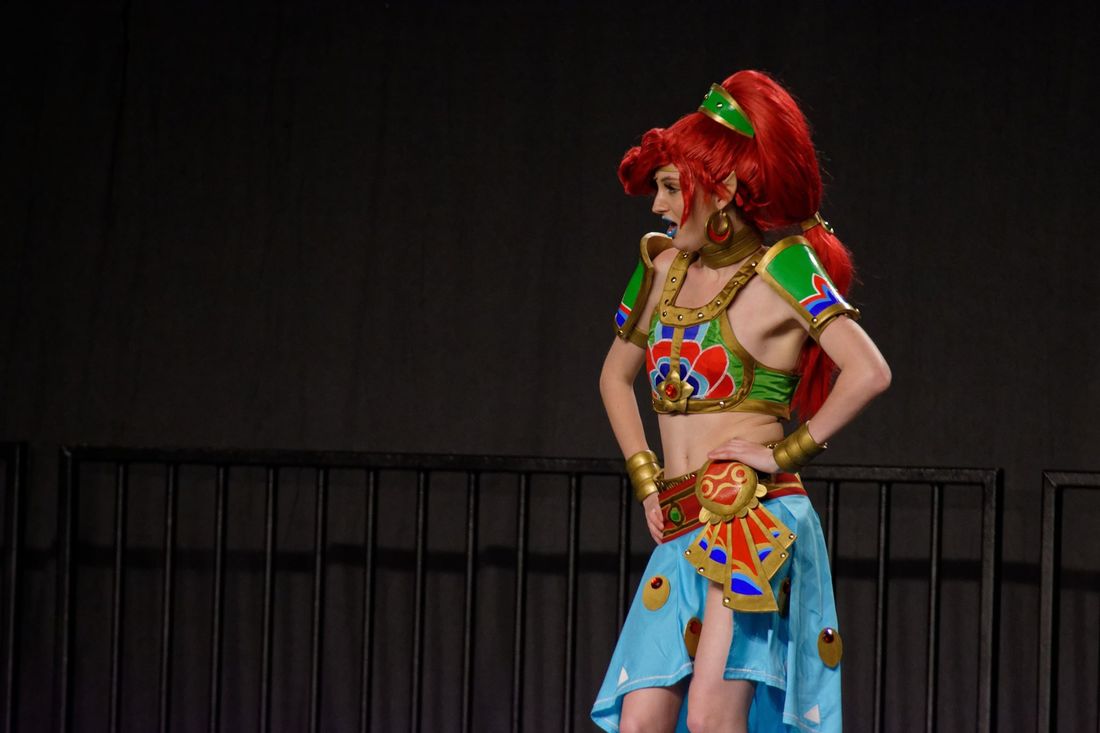
Anyone who has tried wearing a pony-tail styled wig will tell you the same thing- they are a pain (sometimes too literally). Even the best of the best such as Arda Wig's Jasmine style will want to slip off your head due to the weight. No amount of wig clips were helping.Now there are a lot of good tutorials out there, such as Arda Wig's Detachable Pony Tail tutorial (which I referenced a lot while creating my Urbosa wig) but there is one issue with the proposed structure it suggests; it is one size and remains that size. When looking for tutorials all of them suggested a similar structure, made of worbla or heck even metal, both things that I could not afford to use nor couldn't get to stay in place anyways. With my budget and time limitations it led me to realize the proposed structure looked like the inside structure of a safety helmet/hard hat.
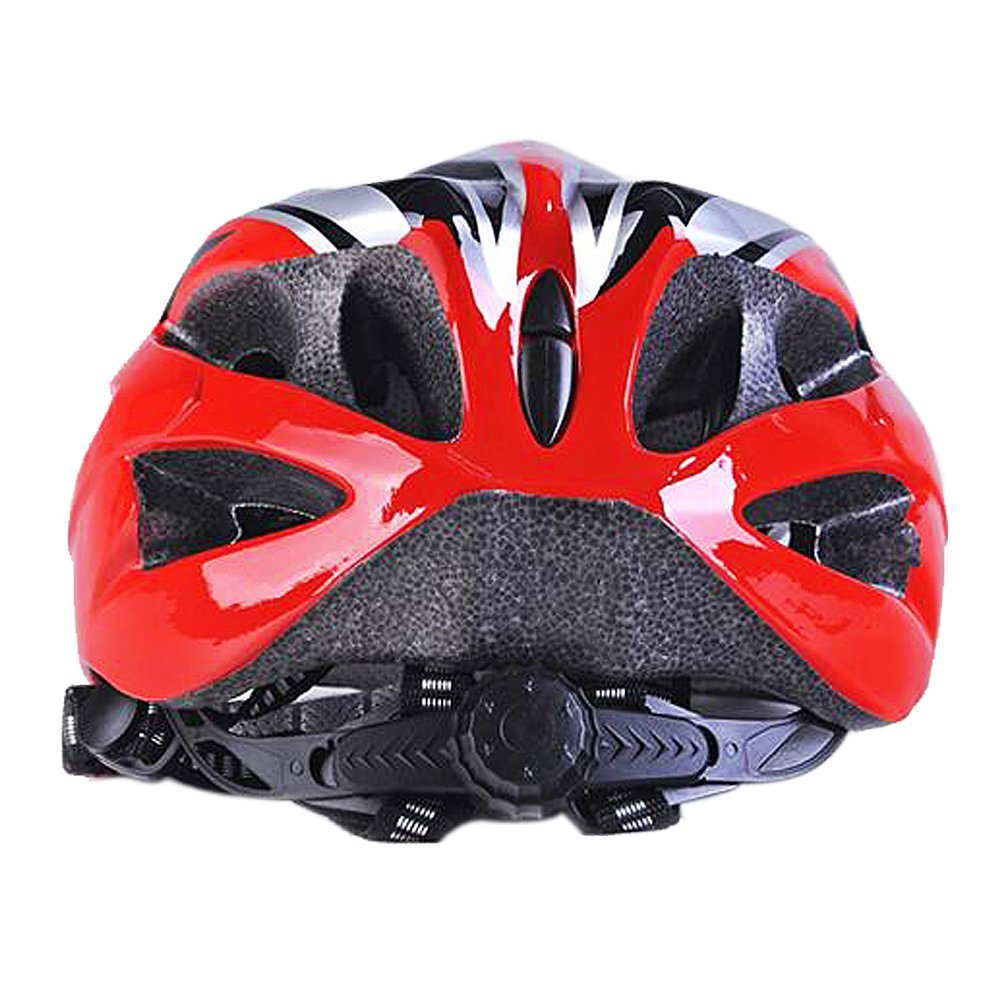
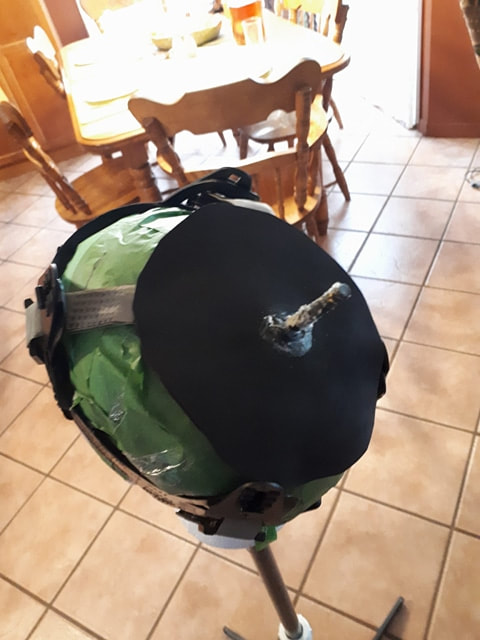
The adjustable structure, and some bike helmets also feature the same type of adjustable frame Luckily in my case my father used to work in industries that involved him owning a few hard hats, so he gave me one so I could tear out the structure inside it. First I tried it on to make sure it could adjust down to my head's size, and it did. Next I added a long, thick screw through the criss-cross at the top of it, and sandwiched this area between some craft foam to keep the screw in place as well as so the head of the screw would not hurt my head while I wore the wig. This screw would later be what I created the pony-tail "nub" around.
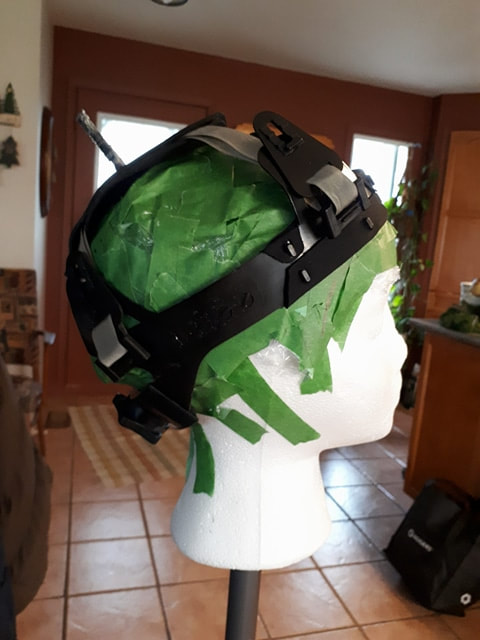
The structure with the added screw on my custom sized wig-head After I realized this structure was working I needed to set it into the wig. It fit perfectly. I lined up the wig to where I wanted the pony tail to start and put a small hole in the top of the wig mesh (not the hair wefts, leave the wefts alone)and did the same with the twist-able screw at base of the hairline. I sewed the entire thing into place where ever I could manage to, especially around the hairline.
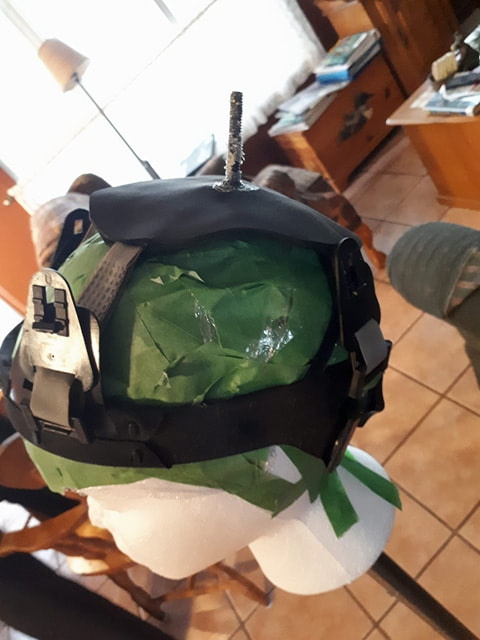
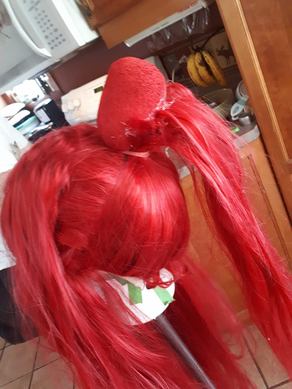
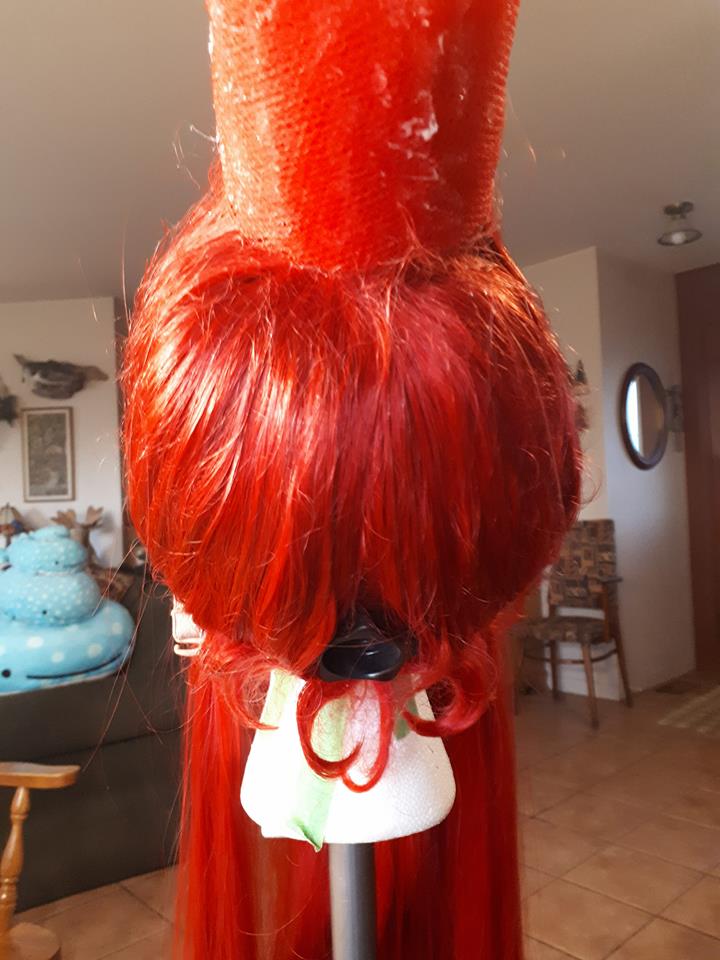
Fitting the head gear into the wig along the hairline, and the screw sitting through it's slit at the back hairline One the structure was in place it was onto styling the wig. First was to create the "nub" of the wig. I used Zeldi's Art's Urbosa Wig Tutorial as my main reference for this section but I will still cover how I did mine as I used my own flair to create it. To create the nub I had to use the screw which was sticking out of the top of the wig. I took a medium sized, red, oval shaped Styrofoam Ball and pushed it into place, removed it, added a lot of glue to the screw, and put it back into place. Once it was dry I started to pull hair up into the nub and glue it into place along the nub. Due to the Jasmine Wig's thick nature I had to do this very slowly and layer by layer. Between each layer I would take a piece of red tulle and glue it on top, which helped keep the wig fibers in place and keep them more secure, as well as kept the nub clean and finished. After each layer was glued I would cut off excess hair that was hanging off the end. These hairs were carefully placed elsewhere as they would be needed for the pony tail itself later.
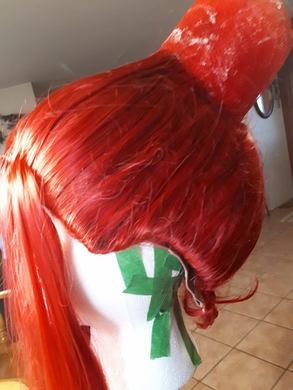
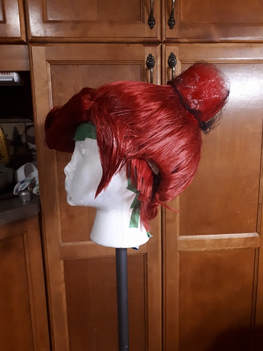
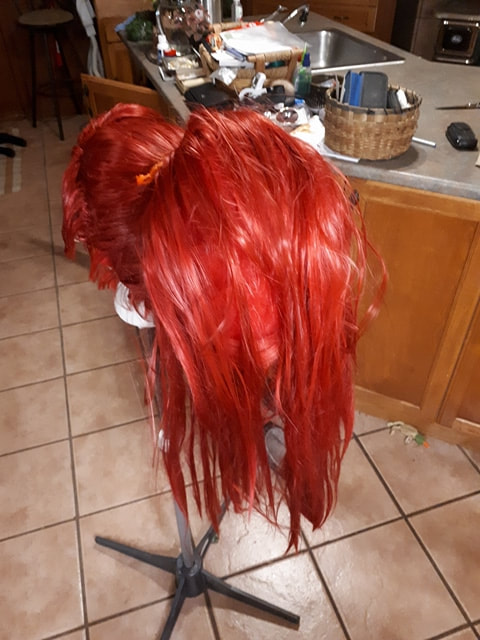
The process (with the visible Styrofoam ball) and the finished "nub" (pre bang styling), back image shows where the adjustable screw for structure tightening sticks out Once the nub was finished it was onto styling the bangs. The Jasmine only has allotted bangs along the center front and the skin tab, so I bought some extra short wefts and sewed some in along the side burn area. Disclaimer; you should probably sew in extra wefts BEFORE pulling the hair back and into place, as I had to weave and sew them into place around the already set hair. Once these were sewn into place it was a matter of cutting and styling all the nag pieces into shape by teasing some volume, then heating, gluing and spraying everything into place. I also sewed in some wefts along the back hairline due to having a natural low hairline on my head, and I didn't want it to all show. On the inside of the wig I sewed in some red bias binding just as an extra measure to make sure my real, very dark, hairline would not show.
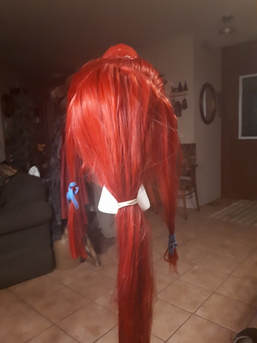
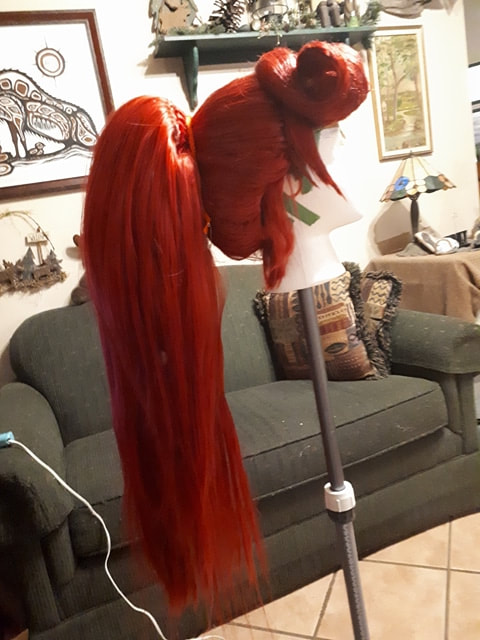
Wig with the sewn in side burn wefts separated from main bangs, and finished wig piece with nub One the main wig and structure was complete it was onto creating the pony tail. Again I used Zeldi's Art's Tutorial to come up with an idea to create this. Just like in her tutorial I made a"pillow case" with a casing, mine being made of red tulle as opposed to red fabric. Along the casing's seams I sewed in more and more of the tulle, in different lengths so that it would have more volume along the casing. Once a ribbon is slipped through the casing it acts like a drawstring, so it ties onto the nub. Once I was happy with the size of the pony tail I sewed some of the short wefts to the bottom of the pillow case, which would act later as the loose section of Urbosa's two-part pony-tail.
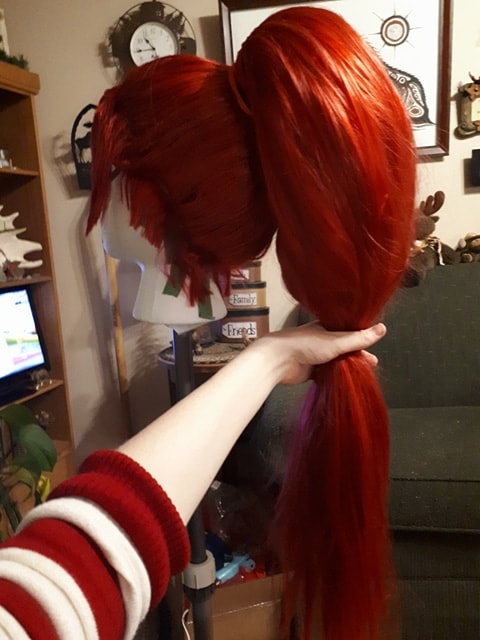
Size test of poof and final poof with one layer of hair sewn into place One I had the desired size and wefts sewn into place it was time to cover the majestic poof in the remaining hair tat I had cut off earlier. To do this I glued the loose hairs into a red bias binding which in turn acted as my own home made "wefts". These were hand sewn along the casing seam and layered into place. I also used the remaining bought wefts as the outer most layer of hair. To help keep everything in place I took some red bias binding and sewed it on top of the weft ends and around the casing to both reinforce and strengthen the casing and keep all wefts and hair fibers in place.
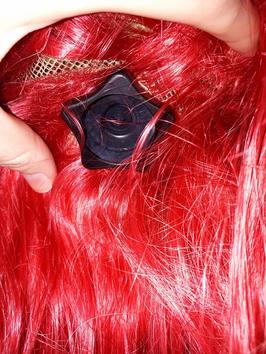
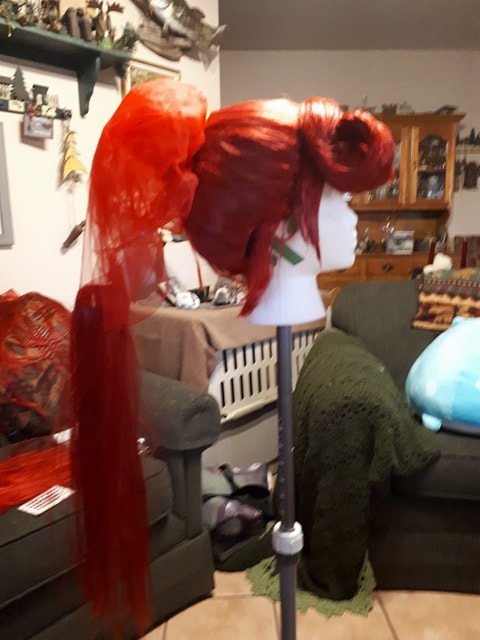
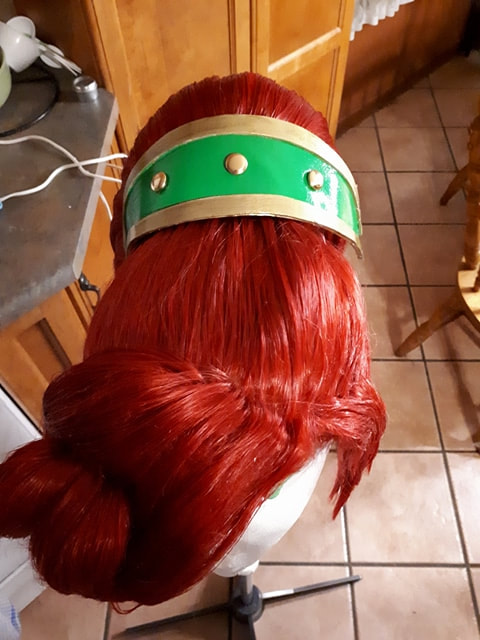
The poof after all the hair was sewn into place and after if was cleaned up a bit After that was all finished and the poof was cleaned up it was a matter of tying the bottom of the pillow case into the second pony tail and gluing the gold detail on top of the hair tie. From there the last piece left was the accessory that Urbosa uses to hold up her pony tail, which I used as a way to cover the "seam" and bias binding where the nub and poof meet. This accessory is made from craft foam and golden buttons that match all the other pieces of this costume. The craft foam was made using a pattern I made after the wig was finished (so I could size it properly) and I used my heat gun to help keep it in it's rounded shape. To hold it to the wig there is red lingerie elastic with red clips at the end of them and it wraps around the pony tail and clips in place, covering everything.
The area where I tied off the pony tails and the hair accessory And that is the basics about how I made an adjustable wig that is easy to take on and off and stays in place without any slipping. The best part of this structure and even the way I made the detachable pony tail is I can take breaks while wearing the costume without completely removing the wig. There were many times at Anime North 2018 where I would loosen the wig through the screw in the back and hold up the wig manually (i.e. with my hand) for a while just to rest from the tightening, or remove the pony tail piece to rest from the weight. The nature of these big wigs styles is that they get heavy and can cause strain on your head, especially if you are not used to wearing heavy things on your head like I am. Being able to take a break from the wig without taking it completely off was wonderful and definitely one of my favorite parts of how I did this.
0 Comments
Leave a Reply. |
Annie's Costume
|

 RSS Feed
